
Your home bouldering wall needs to capture your imagination, keep you motivated, and help you achieve your training goals. The more holds the better, but holds are expensive. If you have a circular saw, an orbital sander, and a work table you can mass produce some helpful shapes to extend your hold buying budget.
Here are some of my favorite homemade holds for mass production:
 PVC pinches and jugs. These giant holds are comfortable, cheap, and easy to make. For pinches you just bolt a capped section of pvc to the wall (into the supports behind the plywood). For jugs you include a spacer to allow full hand access. Texture with sandpaper discs, or orbital sand the PVC surface. In some cases I bolt into a t-nut on one end, in others I use lag screws for both ends. Grey pinches without endcaps were generation #1, white with endcaps were generation #2.
Wooden pinches. These rectangular pinches are made from doubled sections of 2X3s. Glue and clamp two lengths, then make angled cuts to create the top surface (to prevent using a false grip on top). Use sander to bevel and smooth corners. Counter sink holes to attach with long drywall screws. cost ~ $1each. Details on these and PVC holds.
Handlebar rings. If you have a roof section in your home wall you know that roof jugs are expensive ($15 to $30 each). Why not make a bunch of inexpensive jugs and save your money for more interesting shapes? Here is an in depth description of how to make them. Including hardware these can cost between $1.50 and $3 depending on length, hardware, and type of handrail.
Open hand training holds. These are meant to be positioned for downward pulls and are good for creating generic training edges. You can vary the value of the hold by how you center the spacer behind the section of handrail. Detailed instructions on how to make them. These cost between 50 cents and $1.50 each depending on length, hardware, and type of handrail.
Portable Maxi-Pull board.
Design and construction tips for building or adding on to your home wall.
We added substantial space onto our home wall during autumn of 2013, but this is where we started. Winter 2013 our wall looked like this, with about 260 square feet of climbing, and basically occupied 1/2 of our garage attic. That section consumed about 8.5 sheets of plywood and held about 400 holds, of which a bit more than half were homemade.

In the expansion we mainly converted the weight training area and 1/2 of the storage area to climbing terrain. We also continued the wall out to the midline of the room (see sections near windows are unfinished here). This included a narrow addition on the roof, where rafters are visible in the upper of the twin photos, above.
Framing: The new addition brought about 240 more square feet of climbing surface to a total of about 500 square feet, and included a couple hundred new holds from Kilter, Atomic, Urban Plastix and E-Grips. Remaining additions include a mini campus board, and a possible moon wall downstairs. Following are some photos of the build.

I framed the main wall with 10 by 2X6's and fastened them at each end into the existing studs and rafters by bolting two carriage bolts through each 2X6 and the adjacent exposed framing section. See inset in upper right corner. I used an angle finding app on my phone when tacking them into place, and confirmed their approximate flush condition with a large straight edge. The arete on the near corner follows the same angle, which allows simpler cuts of plywood to complete.

I further reinforced the wall section with cross pieces running to the studs and rafters. The lower set double as supports for a shelf as well as adding rigidity to the overall structure. I used standard construction plates to connect the cross pieces. I prefer a little bit of overkill in my framing.
T-Nuts and drilling plywood: I prefer to measure a grid for t-nuts, and then to drill a whole stack of sheets at one time. This is quicker and minimizes damage to the back surface of each sheet, as the underlying sheet helps prevent splintering of the bottom of the previous sheet. I make sure to drill from front to back, preferring the more finished side of the plywood for the usable surface. Make sure you drill straight through the wood to keep a perpendicular path for the bolt and t-nut.
Update: Use the correct drill bit! (7/16) Bryant and I received plywood from friends' walls, and none of them drilled the correct size holes! We had to pull all the t-nuts and drill new holes. Instead of 7/16 they used too large of a bit and made the t-nuts unstable and likely to strip. Buy your t-nuts in bulk online. We ordered our second batch from Amazon marketplace, and got 1000 for about 75 bucks, shipping included.

Pounding t-nuts goes more quickly on a cement floor, above a single sheet of plywood, and with a heavy weight. I used 15 or 20 pound dumbbells rather than a hammer.
Update: a 15 to 20 pound dumbell is much better than a hammer for t-nut driving. After drilling, clean the front and back surface with light pass of an orbital sander to get rid of splinters and chunks. Then hand press the tnuts into the holes (they should be tight), and then press them in again with the soles of your workboots. This will help prevent them from hopping out when you pound in other t-nuts.
Sheeting: At the dojo I attached the plywood sheeting by tacking it into place with some drywall screws, and then securing it with 1/4 inch lag screws into pre-drilled holes.
Update: At Beta Fish we used star drive construction screws. The are far superior to drywall screws because they are stronger, begin with a slight drill bit tip, and the star drive is far more secure. They work wonderfully with an impact driver and do not need to be reinforced with a lag screw, so they are much faster to work with.

Detail on partially installed lag screws:

I could have countersunk the heads of the lag screws, but in practice I have not had too many situations where they get in the way. And when they do I have no problem drilling out a section of a hold to make it fit, even though that seldom happens. I also noticed that fastener manufacturers are making the screws thinner and less sturdy for a given size, with these being slightly thinner than the ones I used 6 years ago, and subsequently easier to snap off while tightening. I compensated by adding a couple more per sheet, especially on the steep sections of wall.
Update: I will get some close up photos from Beta fish, but the star drives will pull right into the plywood, effectively counter sinking themselves.
Sheeting continued:

Maximizing length of upward movement was an important design consideration for this section. I am pleased with the result.

I took the time to interlace the top sections of the 55 degree wall in order to maximize the length of the climbing surface. My ceiling is low, so I wanted to be able to string at least three sizable upward movements together on this section. It took a bit of extra time, but it was worth it. I also built in some angled features here to take advantage of this design decision.

And another view:

These angled sections allow me to include slopers and other non-jug holds into the roof environment. Perhaps they look a bit messy for a professional gym, but for a home gym they add some nice variety in a space that already has plenty of roof surface. I added some screw on holds to the rafters as well.
Almost completed 55 degree, arete, and adjacent roof area:
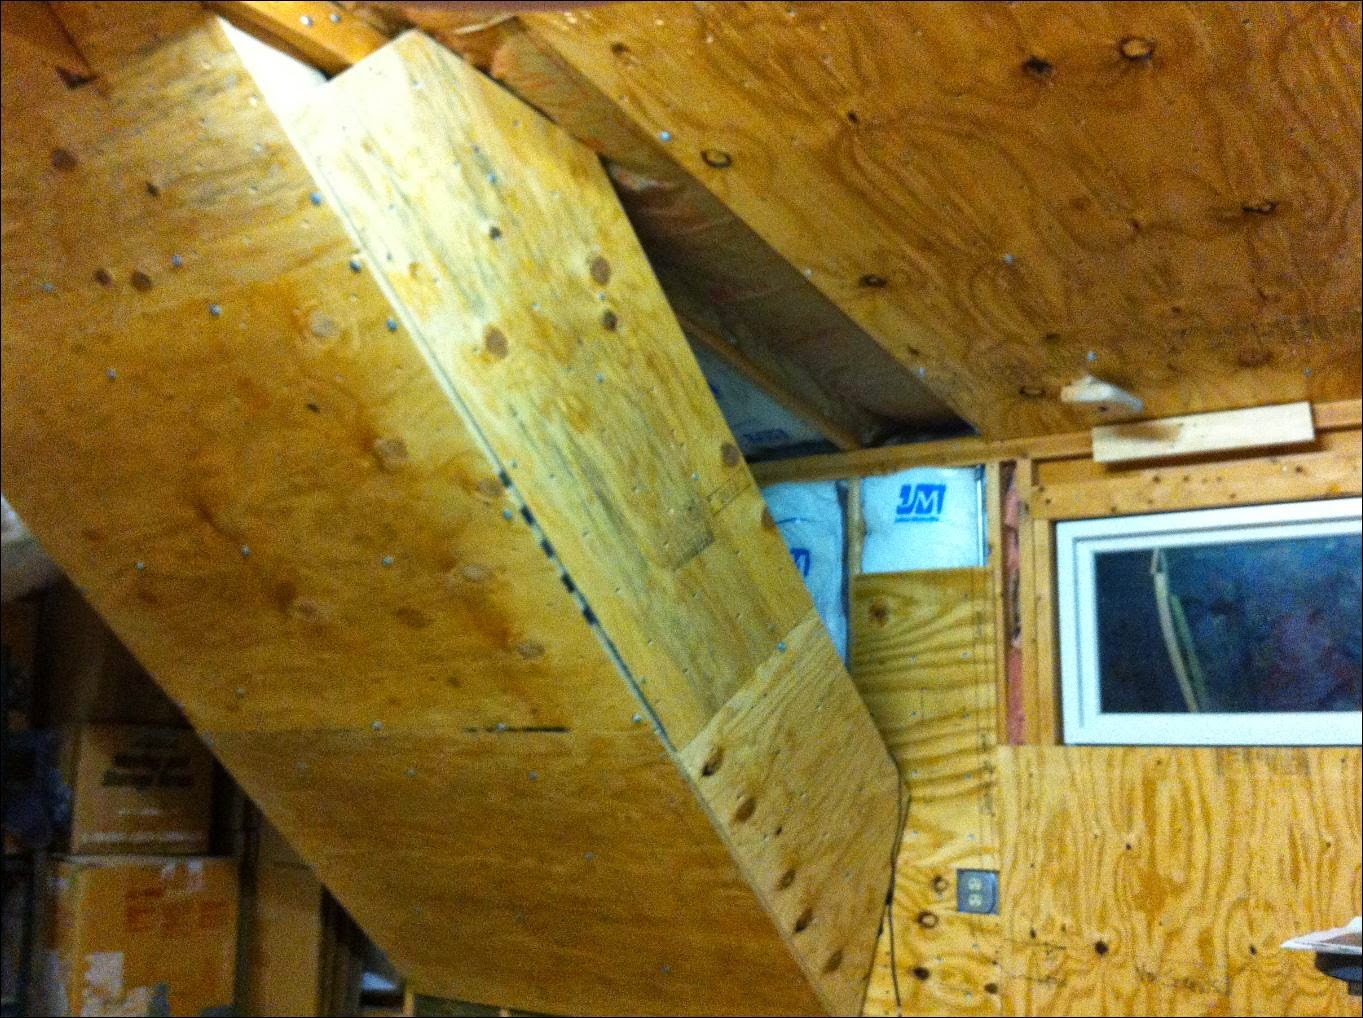
This is my last, in-progress shot. The roof section has just been lifted into place, and the small bits of sheeting are still missing from around the window.
Here is how the 55 degree with overhanging arete looks now:


Here is a mock up of a possible 9 by 13 space, marked by the bouldering pads.

Here is a photo of "The Shop" a home wall for all of us to aspire to.
