Wednesday, July 6, 2016

Summer Lessons


(post workout, July 6th)

I spent most of July 5th setting up the AC and plastic barriers for the hangboard end of the Dojo.  Laura and I started our workout at 8:30 am the next morning with reasonable temperatures and pleasantly reduced humidity.

Climate control lessons learned:
  • If your window is too short you can remove the panes.
  • If the casement is too narrow a hacksaw will help you remove the excess vinyl flanges.
  • Temporary walls of plastic sheet will reduce your cubic footage and boost holding power more than any amount of chalk.
  • You might not get any PR's but at least you can hold on through the whole workout.
  • Even with the AC your skin will hurt it you just got back from a month of travel and occasional recreational climbing. 

(Maple Canyon, Orangutan wall, another stellar 5.9)

The month of June as largely consumed with family vacation to Utah and beyond.  Mostly we were tourists, but we did manage to climb a bit (about 7 climbing days).   

Vacation lessons learned
  • The moderate sport routes at Maple are some of the best in the West for family trips:  many slight slabs with holds, bolts where  you want them, and short approaches.   5 star area for family climbing trips. 
  • Even in the heat of summer the shady areas at Maple will be pleasant and not too busy on weekdays. 
  • If you stop training for a month you will get weaker, heavier, and your skin with  get soft.   
  • Summer is a great time to re-motivate and pre-train for fall season.  

Friday, May 27, 2016

Spring Season in Review


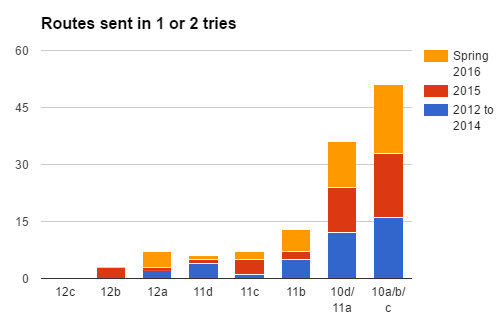
At the start of the season I decided I wanted to prioritize getting outside whenever possible, while also making progress on my long term training goals.  This slowed my training cycles down a bit, but it meant that I climbed outside on 25 days at the Red and New between January and May.  The days at the Red included two days of easy trad, a day of hiking cliffs, and another replacing bolts.  I also climbed 7 days straight during spring break, so not all days were optimal sending conditions.  Correspondingly I climbed a high volume of routes between 10a and 11b.  

The punchline of the above chart is that I climbed a years worth of routes in a single season.  This is a result of both climbing more days, but also climbing more 10a+ routes in each day. Both of these are due to the great improvements in my approach to training following the publication of the RCTM in March of 2014. Prior to the Anderson brothers' book I had no idea how I would return to the climbing fitness I enjoyed in my 20's. I still had 5.12 skills, but I was trapped in a body with 5.8 fitness. Floundering on routes that I used to warm up on was hugely demotivating, and figuring out how to return to a process of improving has invigorated my desire to climb and spurred me to improve my general fitness. What is not visible in the chart above is the joy I feel at age 45 from regaining the capacity to climb well on the routes that inspire me.  


Enjoying my climbing again while warming up on Johnny B Good

Below are some photos with highlights from spring season 2016.My first trip to the Red was on February 28th, during the first week of my hangboard cycle.  I was happy to onsight Amarillo Sunset despite neglecting endurance all winter.  Here is Yoichi getting ready to clean the draws on TR.  


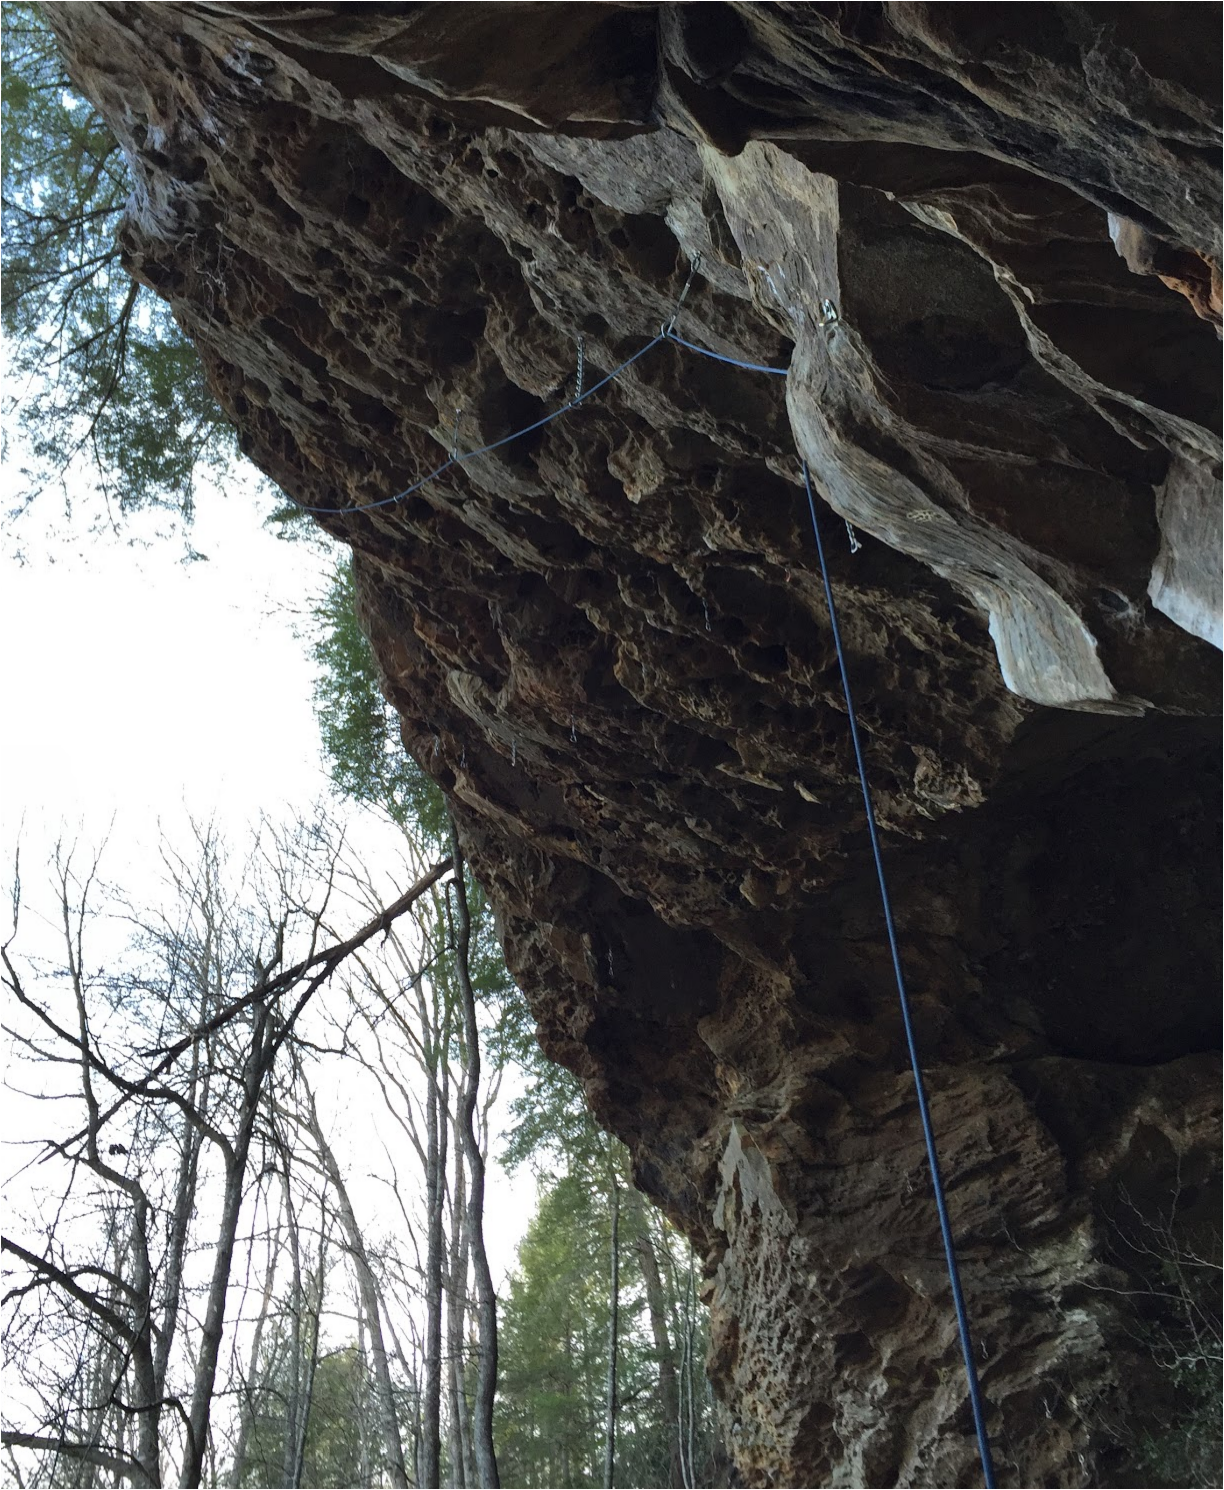
One of my early highlights was onsighting 8133 (a cool 11d at the Portal).  8133 is a steep jughaul that starts with a tricky boulder problem.  I was psyched to send this in early March, and well before my performance season.

Steep.

 
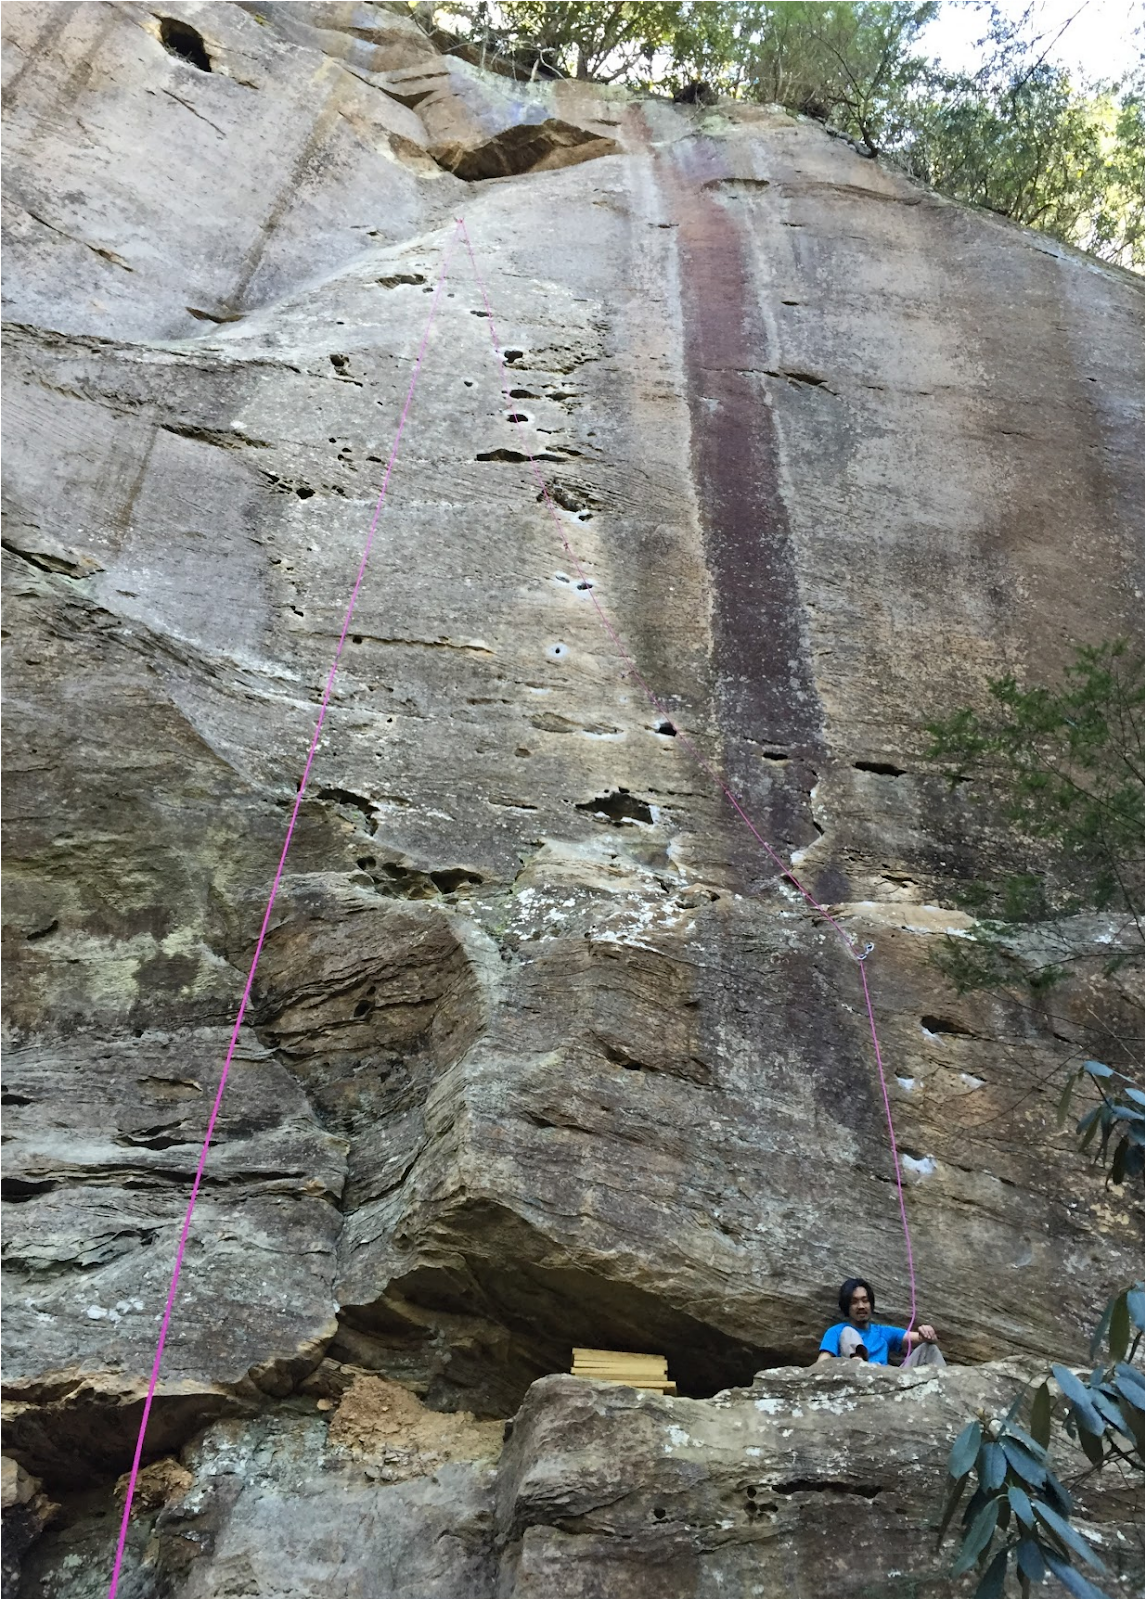
Diablo is the perfect sport route.  The crux is at the top. It is a clear line on a smooth sweeping wall that gets increasingly steep the entire way.   The route is 75 feet with just 6 bolts, and although the last couple runs are spacious, the falls are clean and fun.  


The crux is on smaller pockets at the end, and it can be hard to onsight because it is not clear which pockets are good and which are bad. You just have to commit to a sequence and roll the dice.  Unlike many RRG routes of similar grade and angle there are no easy rests.  No: kneebars, ledges, calf hooks or coffin rests.  This makes the route a cool test of your deep hold endurance because you have to avoid getting pumped in the 70 feet of big move steep climbing leading to the powerful concluding moves.  

slab.PNG

I fell off my flash attempt while grabbing the final hold.  I returned a couple weeks later and sent it next go.  


Early in the season, while bouldering on the Moonboard I tweaked the collateral ligaments in my A2 knuckle of my left index finger just as my power cycle was supposed to start.  This forced a reassessment of my season plans, and so I lowered the intensity of limit bouldering and campusing effort for the whole season.  I took it easy generally in terms of power training, and correspondingly, my power really felt lower this season.  This also meant that my outdoor climbing days tended to include fewer hard routes and fewer routes with bouldery sections.  On the bright side, that included a couple of great trad climbing days.


Not everything was a success.  I narrowly missed flashing Way Up Yonder, and more narrowly missed sending it on my second try a week later.


I got on several 12b’s this season, and got shut down by power moves.  They just felt out of reach in terms of both finger strength and in my capacity to pull off more extreme moves.  This was frustrating in the moment, but as I look back on the actual training that I have been able to do, this ebb in power was completely predictable given my limited ability to invest in the necessary training this season.  Even so, I continued to benefit from the progress in endurance, strength and power endurance all of which are better than they were in the fall.  Plus, I sent at a decently high level from March to May, including sending Betavule Pipeline (12a) on my final trip of the season.

I think the two best insights from my season follow from my growing capacity to enjoyably climb the types of routes that I want to climb as well as my awareness of how to keep training in order to improve into my coming years.  I turned 45 in May and I can see plenty of room to keep improving over the next 5 years, and I think my long term enjoyment of this activity will stem from the progress I am able to make during this time period.

So, I am really thankful for Mark’s ongoing efforts to help others improve and to develop the self awareness to guide their own progress for years to come.  I am glad to contribute in my own local community by helping other climbers reflect on their own climbing/training/goals and to move forward using insights from the RCTM.  Several of my friends have set new benchmarks this spring, and I know that this all stems from the work set into motion by the Andersons.  We all can achieve more now because we are standing on the shoulders of giants, and I am glad for the chance to be part of that process.


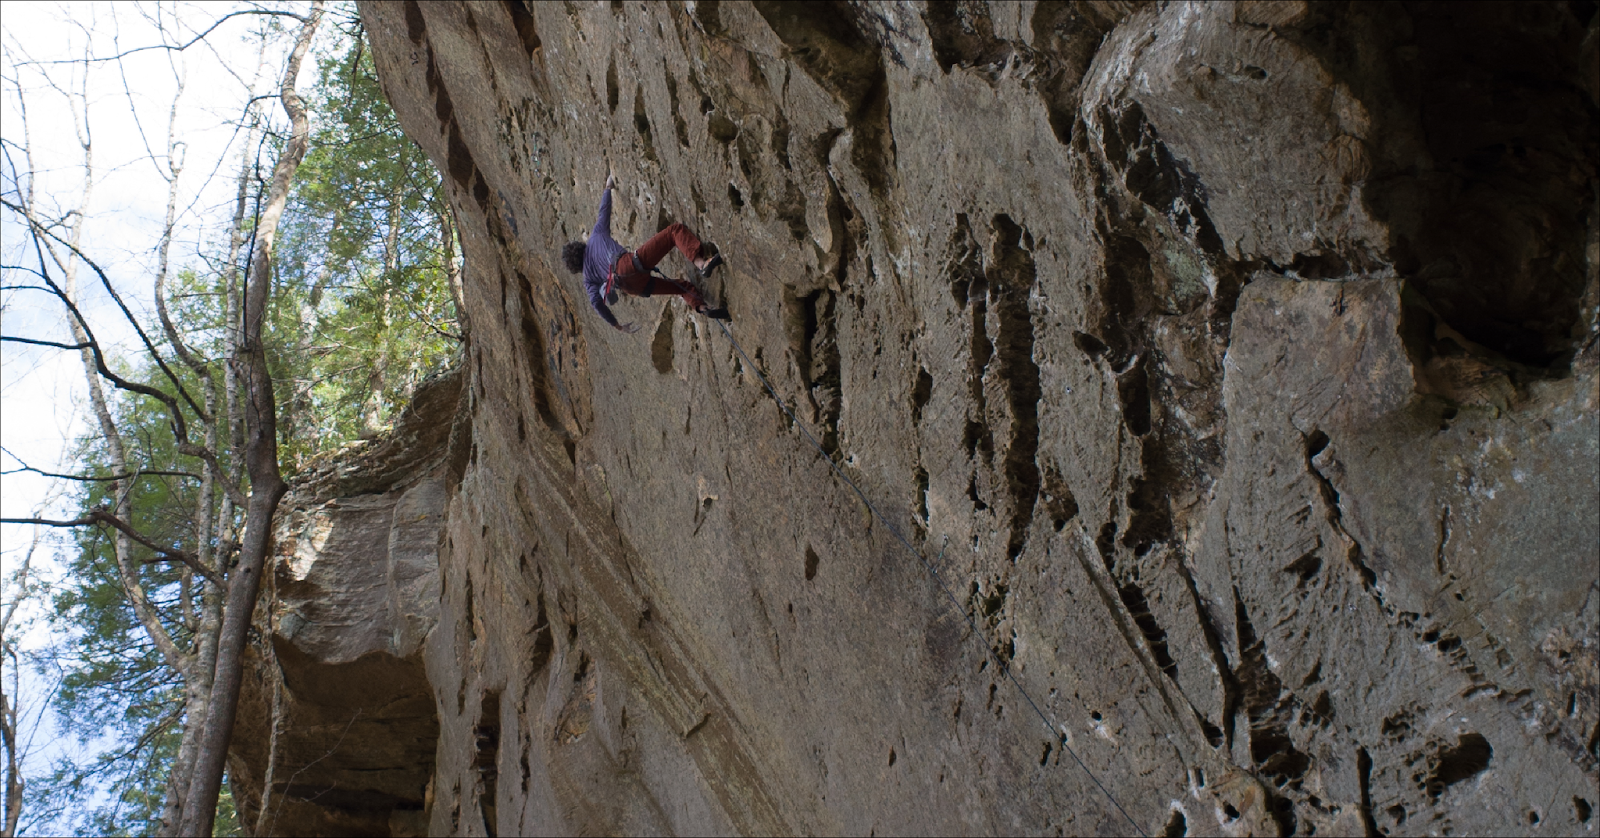
(Yoichi climbs with confidence on AWOL)


One for the future. 

Monday, April 11, 2016

Almost there


almost. . .

Wednesday, March 23, 2016

Training works!


None of this would be possible without the RCTM hangboard training and the Forge!

Thursday, March 10, 2016

Kilter/Moon Hybrid update #1

 These are 7 sets of Kilter holds that we added to our Hybrid Wall today.
(Top Left) Noah Small 5- Rounded Crimps; Winter XL 1-Slugs (Right)
(Second Row Left) Noah Large 5- Overjugs, Winter Large 5- Jugs (Right)
 (Third Row Left) Noah Medium 17- Mini Jugs, Winter Small 9- 2 pad incut Edges (Right)
(Bottom Right) Teagan Medium 1- Mini Jugs

This project currently uses the black and white moon sets.


The Kilter / Moon Hybrid 

Angled shot 

Beta Fish nearing completion


I am really glad that we used the Moon grid layout for the t-nuts, and I am even happier that we also added the additional grid.  Moon has you making a 6 by 11 grid on each 4X8 sheet, which is not very dense (by home woody standards) so the extra 5 by 12 grid we added in the centers gives us plenty of options.   I would say that we still have room for 200 more holds on our moon/kilter hybrid wall if we want to add them.   Using this double grid allows us to set up any moon problems that we want but also integrate other holds.   

We kept all of the Kilter holds on the original Moon grid, except for a few holds in the middle where we ran out of space.  If we want we can get another 50 kilter holds (perhaps in Red) to flesh out the wall with more compact, interesting holds.

The huge plus of the moonboard is the 100's of problems per set up, and the style of problems.  Moon problems are characterized by limited feet and big powerful moves between challenging holds.  In terms of style they are super intense limit problems-  like a cross between campus training and bouldering.  

I would not make a moonboard and just leave it with the standard holds in a home wall because the hold selection is too limited and extreme for most climbers.  I love the Moonboard and the problems, but the addition of the Kilter holds adds so much extra functionality without detracting from the moon problems.

Kilter holds have have a reputation for being awesome but also expensive.  However, for a use like this intense training wall they are more than worth every penny.  When it comes to the small space of a moonboard the opportunity cost for each hold has to be weighed against the quality of the hold and what it contributes to the wall.  The Kilter holds we chose gave us the best proposition for money and space.  The overjugs are incredible-  super comfortable, more than positive, and non obtrusive.   The slugs are slopey jugs that are hard to match and surprisingly compact for how deep they are.  

The moon sets (black and white) are very rough because they were shaped from a lower density foam.  The shapes might seem primitive and a bit uncomfortable.  However, they are interesting and reminiscent of the uneven shapes you find on hard limestone routes (like at American Fork or Logan Canyon) because they are often angular in ways that don't make them easy to use.  They require extra attention and effort to latch safely and to use.   I think this can be a good type of realism to integrate into your indoor training, but it is also a bit dangerous.  You cannot just throw for these holds with impunity-- you have to be careful or you will tweak something (as I learned a month ago).   

There are no jugs and no deep slopers in the moon holds.   The moon wall is not ideal for warming up (unless you are uber strong).   The Kilter sets we got largely fill these missing niches.   We can warm up on our hybrid wall as well as do 45 move circuits.

The Kilter Overjugs set are super positive and comfortable, so we have actual V0/V1 problems to play around with and warm up and down climb.  The hybrid between the Kilter and Moon holds makes both sets much more valuable and makes the wall usable for much more varied climbing.   

I did some endurance work at the end by climbing up and down the hybrid wall until I was too tired / sore to continue.  That is something that is not possible on a standard moonboard unless you are very, very strong.  

Wednesday, February 3, 2016

Home wall construction updates


Together with a good friend I am working on my 6th home bouldering wall and 9th new wall.  In the process we have learned some valuable insights into wall construction, and I figured I would document key parts of that process.  The wall is named Beta Fish.

Tools we used:  Circular saw, corded drill, 2 cordless drill and impact driver sets, orbital sander, t-square or long straight edge, angle measuring app on a smart phone, 15 pound dumbbells, pencil, clamps,  extension cord, socket drivers, vise grips, sturdy ladders, chop saw.

Fasteners:   self drilling star drive construction screws in a couple of different lengths for both attaching plywood to frames and reinforcing junctures of framing; lag screws in a variety of lengths for connecting framing, washers, as necessary, carriage bolts for connecting framing, locking nuts and washers for carriage bolts, wood glue, scraps of plywood.

Materials:   3/4 inch standard pine plywood (actually 23/32), pine 2X6 in 12 foot and shorter lengths, standard pound in t-nuts.

Here is the section of the garage for the wall.  The room has12 foot ceilings.
6 foot tall person for scale.

The moon wall is 40 degrees overhung.  We used string to
sketch the angle and location of the two main walls.

The 12 foot 2X6 meets the upper section that protrudes through 
the ceiling, and attaches to the top and bottom chord of the rafters.

We used plywood on both sides, glued, clamped, 
screwed and carriage bolted the connections in place.

All 5 of the finished connections.  We used a long straight edge to test 
that all joists were at a consistent angle, and adjusted a couple before gluing. 

They are strong.  The 2X6's are also connected to the structure with 2X6's at about 
6 foot height, which will double as a shelf.

We used the Sawsall to trim some of the connections back
so that we would not block the plywood on the arete. 

We each had a drill and driver set.  All four tools came in handy
while working on the connections.  So did the beer.

The wall is taking shape!

Detail on the connection method we used.
The plywood is glued on both sides of the 2X6's.

At the top the 20 degree wall is just connected to the bottom chord of the rafters
so we reinforced that with these connections to the wall joists.  
These connections are glued and screwed.

The horizontal reinforcements for the 40 degree wall have screws and 
carriage bolts on the climbing wall side.   The plywood of the shelf will reinforce 
the joist hangers and screws on the structure side..

The left side of the 20 degree wall connects directly to the side wall
which adds a lot of stability to the climbing wall.

The right arete is reinforced into the bottom and 
top chord of the rafters.

We used carriage bolts, lag screws and self driving construction screws 
to attach the wall 2X6's to the existing wood frame construction.

We cleared the 7/16 drill holes of splinters with our boots or a sander.
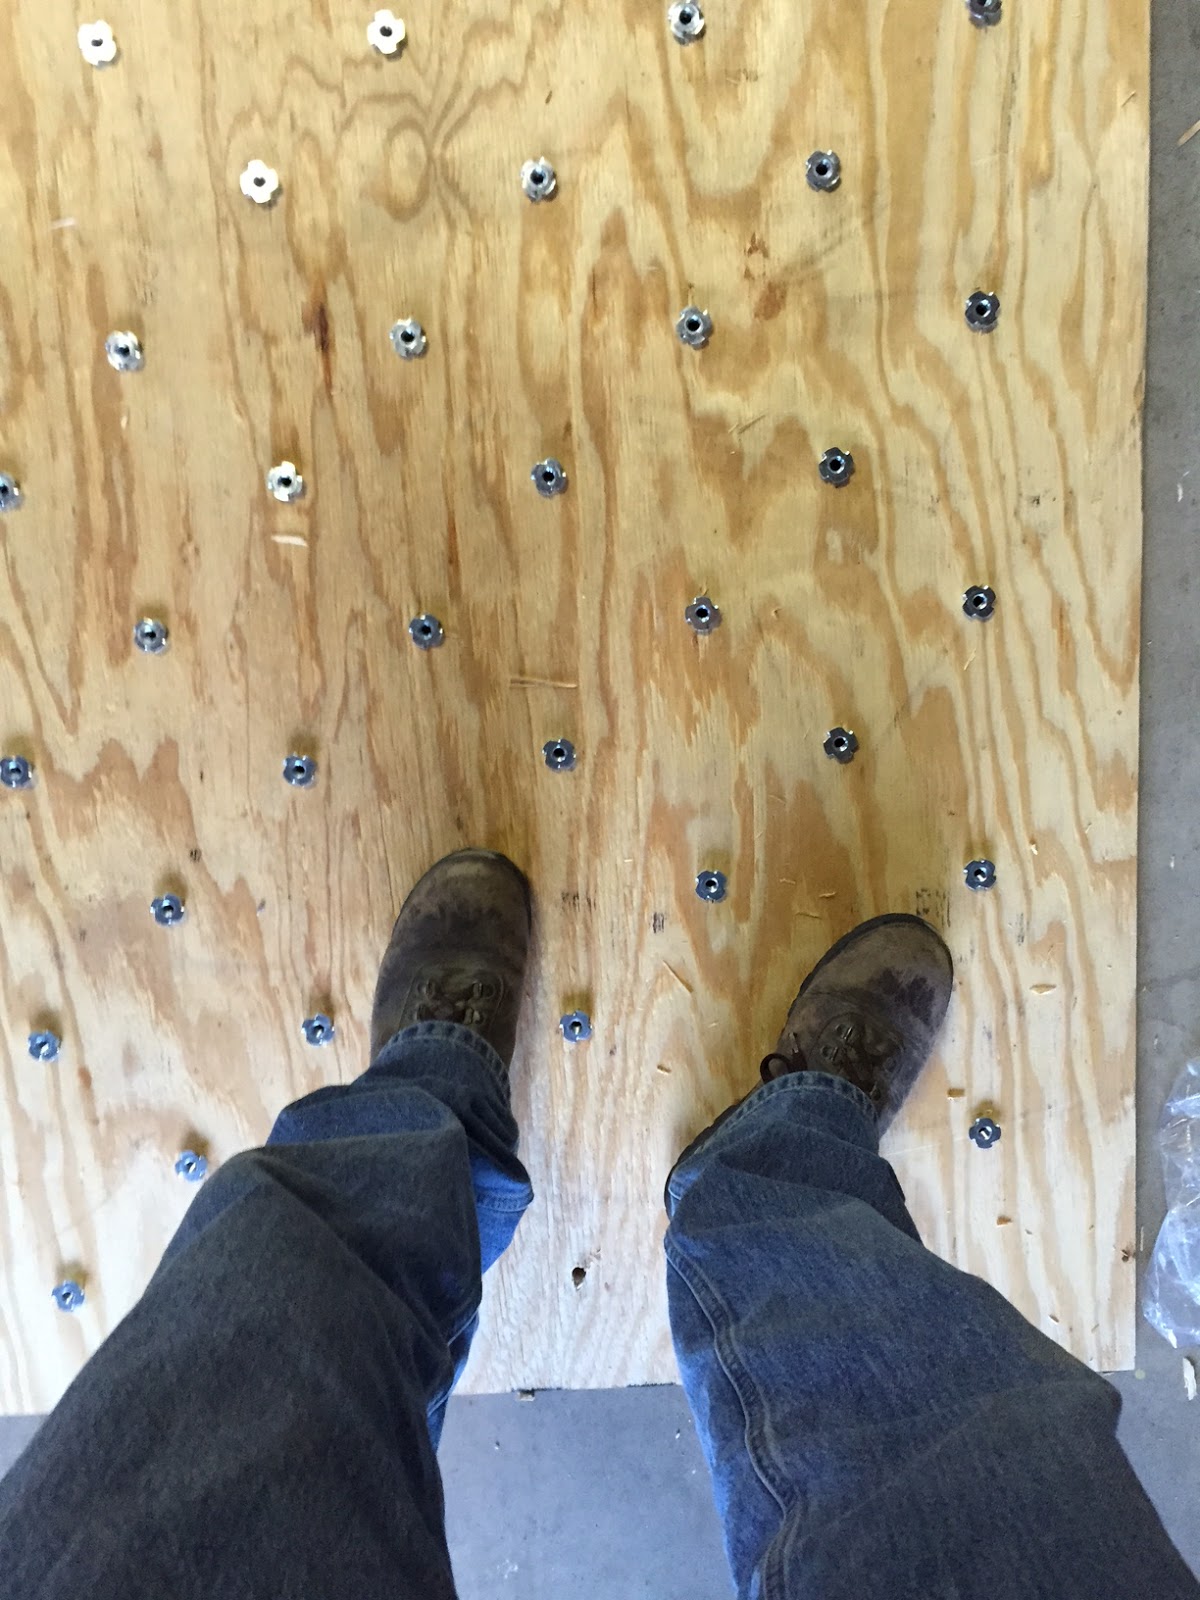
We pressed the t-nuts in the holes. 

Then we pressed them in with our boots before pounding 
them in using 15 pound dumbbells.  Notice the moon wall grid 
plus extra grid of t-nuts in the centers.  We placed 126 t-nuts per sheet.

The wall was coming together!  
Notice the stack of plywood sheets that we drilled in a batch of 5.

Moon set A in setup #4

Both sets A and B, plus foot holds on the kick plate.  The 20 degree wall is also 
sheeted with the same moon grid layout.  If we want we can set the 
moon problems on the 20 degree wall (with slight modification 
due to about 3 missing inches of height). 

Transitions between different angled planes are tricky.  
We used a combination of an easy to build overhanging arete 
that follows the same 40 degree angle but set back and to the side of the wall. 
These sections are fun to climb and are easy to build.
The triangular section between the 20 degree and 40 degree is trickier to set up, 
but results in a nice looking solution that is also fun to climb.

You can connect two different angled planes with a series of 
alternating triangles.  In our case we have an arete and dihedral down low
that transitions to a dihedral and arete up high.   We tied strings from corner to corner to measure the initial border of each triangle.

Once we had the measurement we connected the joists with a 2X6 cut and angled to fit between them, and counter sunk the screws to get good purchase.  Then we cut the plywood to fit and tacked it in place.

We have a few sections remaining on the aretes and headwall, but we were able to put up some problems on the 20 degree and transition wall in addition to the moon holds with a few extras.

Here you can see the transition triangle wall and the overhanging arete.

Here is a detail of the triangle transition section, 
where you can see the changing corners effect.  
We placed t-nuts more closely in the small triangles 
to maximize flexibility of the space.

I will follow up with more photos as we progress.

As promised I am following up.  We finished the left arete and added the headwall
to the moon board.   The only things left are the right arete
and the vertical wall to the left.

Profile shot of the left overhanging arete.  We are super excited to get some slopers
onto this section.  The top includes a series of jug rails to facilitate the finishes.

This view is from above and shows the scale of the wall.
The moonboard headwall will have a jug rail at the top plus
room for some holds over the lip.

the mean hold: